Why use it?
The Calendar block displays activity deadlines and custom events.
Step 1: Add a Calendar block
Go to the course page and Turn editing on.
On the left side of your course page, scroll down to the Add a block block.
Click Add… and from the drop-down select Calendar.
Adding a block will cause the page to reload. Locate the newly added block on the left-hand side of your course page.
The calendar block should now appear on your course for all users.
Step 2: Manage events
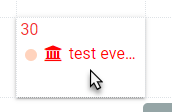
Existing events
Deadlines for assignments and other activities are automatically added to the calendar without the need to add them manually.
Add an event
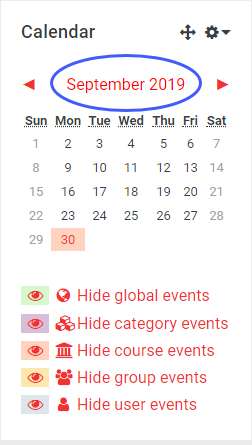
1. First, find the Calendar block and click on the name of the month.
2. From here, you can either click on any of the dates and create a new event, or go directly to New event.
3. Enter the Event title and the exact Date and time.
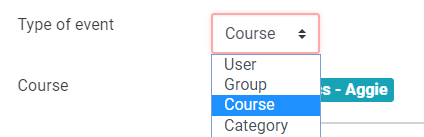
Type of event
Category - event viewable by everyone on a category-level.
Course - event viewable only to course members - created by teachers.
Groups - event viewable only by members of a group - created by teachers.
User - personal event a student user can create - viewable only by the user.
Further options
By clicking on Show more…, you have the option to give the event a Description, the Duration and to Repeat this event.
Click Save.
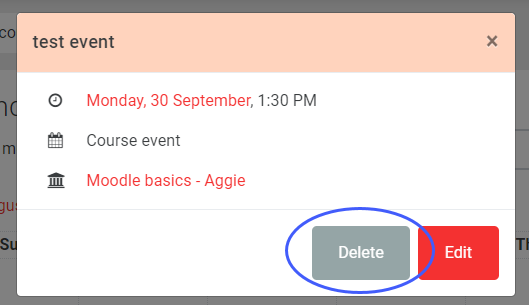
Delete an event
Click on the name of the event in the calendar, then click Delete.