Why use it?
The File resource can be used to upload PDFs, images, presentations and text files to share with students.
Step 1: Add a File
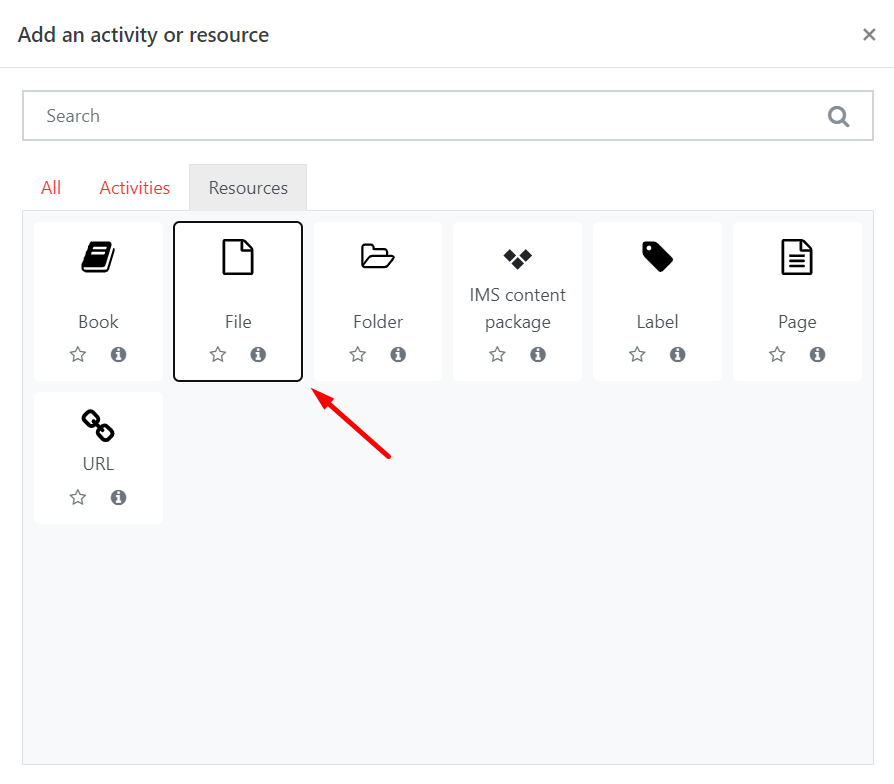
To start, Turn editing on and scroll to the section to which you want to add the file. Click Add an activity or resource. From the activity choose File from the Resources tab.
Step 2: Settings
Tip: Click on the question mark icon ![]() next to any setting to display extra help or click on Moodle Docs for this page link at the bottom of each page in Moodle for accessing context-specific documentation.
next to any setting to display extra help or click on Moodle Docs for this page link at the bottom of each page in Moodle for accessing context-specific documentation.
General
First give your file a Name and, optionally, a Description. A meaningful name may mean a description is not necessary. If you add a description you can choose to display it next to the file on your Moodle page.

Content
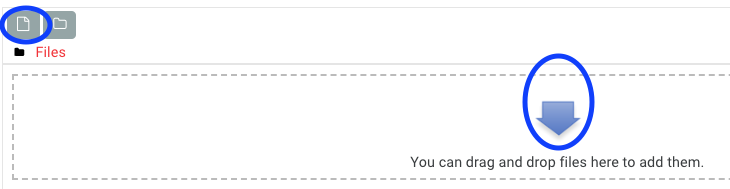
In the Content area, you are presented with two options to add files:
Method 1 - File picker
Click the Add icon
 to open the file picker. Click Upload a file, then Choose a file to find the right file on your computer. You will have the option here to change the name by which the file will be saved to Moodle.
Select an appropriate license.
Click Upload this file to complete the upload.
Note: Please ensure that you are not in breach of copyright law when adding files to Moodle e.g. files such as scanned chapters from books or journal articles downloaded from the internet must not be uploaded to Moodle.
Method 2 - Drag and drop
Drag a file from a folder and drop it directly into the upload box on the settings screen for your file resource
Appearance
By default, files will open in a new window when clicked by a student. If the file cannot be viewed in the browser, the file will be downloaded. No information about the file’s size or creation date is shown on the main page.
In most cases, these will be the best settings to keep. However, you can change how files are displayed by selecting the most suitable option from the Display dropdown. For more information on each of the options, click ![]() .
.
Finally, click Save and return to course to complete the file-upload process.
Replacing files
To replace the existing file, first you have to delete the existing one.
First, Turn editing on.
Next to the File, click on the cog icon ![]() and from the dropdown select Edit settings.
and from the dropdown select Edit settings.
Click on the existing file. A window will appear in which you can click on Delete.
You can now upload a new file.