Why use it?
Generate PDF certificates for students who have completed their course.
Step 1: Add a Custom certificate
Go to the course page and Turn editing on. Scroll to the section where you want your ‘Custom certificate’ to be displayed, click Add an activity or resource and pick Custom certificate.
Step 2: Settings
Tip: Click on the question mark icon ![]() next to any setting to display extra help or click on Moodle Docs for this page link at the bottom of each page in Moodle for accessing context-specific documentation.
next to any setting to display extra help or click on Moodle Docs for this page link at the bottom of each page in Moodle for accessing context-specific documentation.
General
Give the Certificate a Name and optionally a descriptive Introduction.
Note: The introduction is not the text that appears on the certificate.
Options
Delivery options
Choose how you want the certificate to be delivered.
Email students
If enabled, students will be emailed a copy of the certificate once it has been awarded.
Email teachers
If enabled, teachers will be emailed a copy of the certificate once it has been awarded.
Email others
Send other recipients a copy of the certificate once it has been awarded. Type a valid email address and separate it with a comma for each recipient.
Allow anyone to verify a certificate
Enables anyone (including users not logged in) with the certificate verification link to verify a certificate.
Required minutes in course
Enter a minimum amount of minutes that a student should stay logged into the course before receiving the certificate.
Set protection
Tick the listed boxes to prevent others to Print, Modify or Copy this certificate.
Click Save and display.
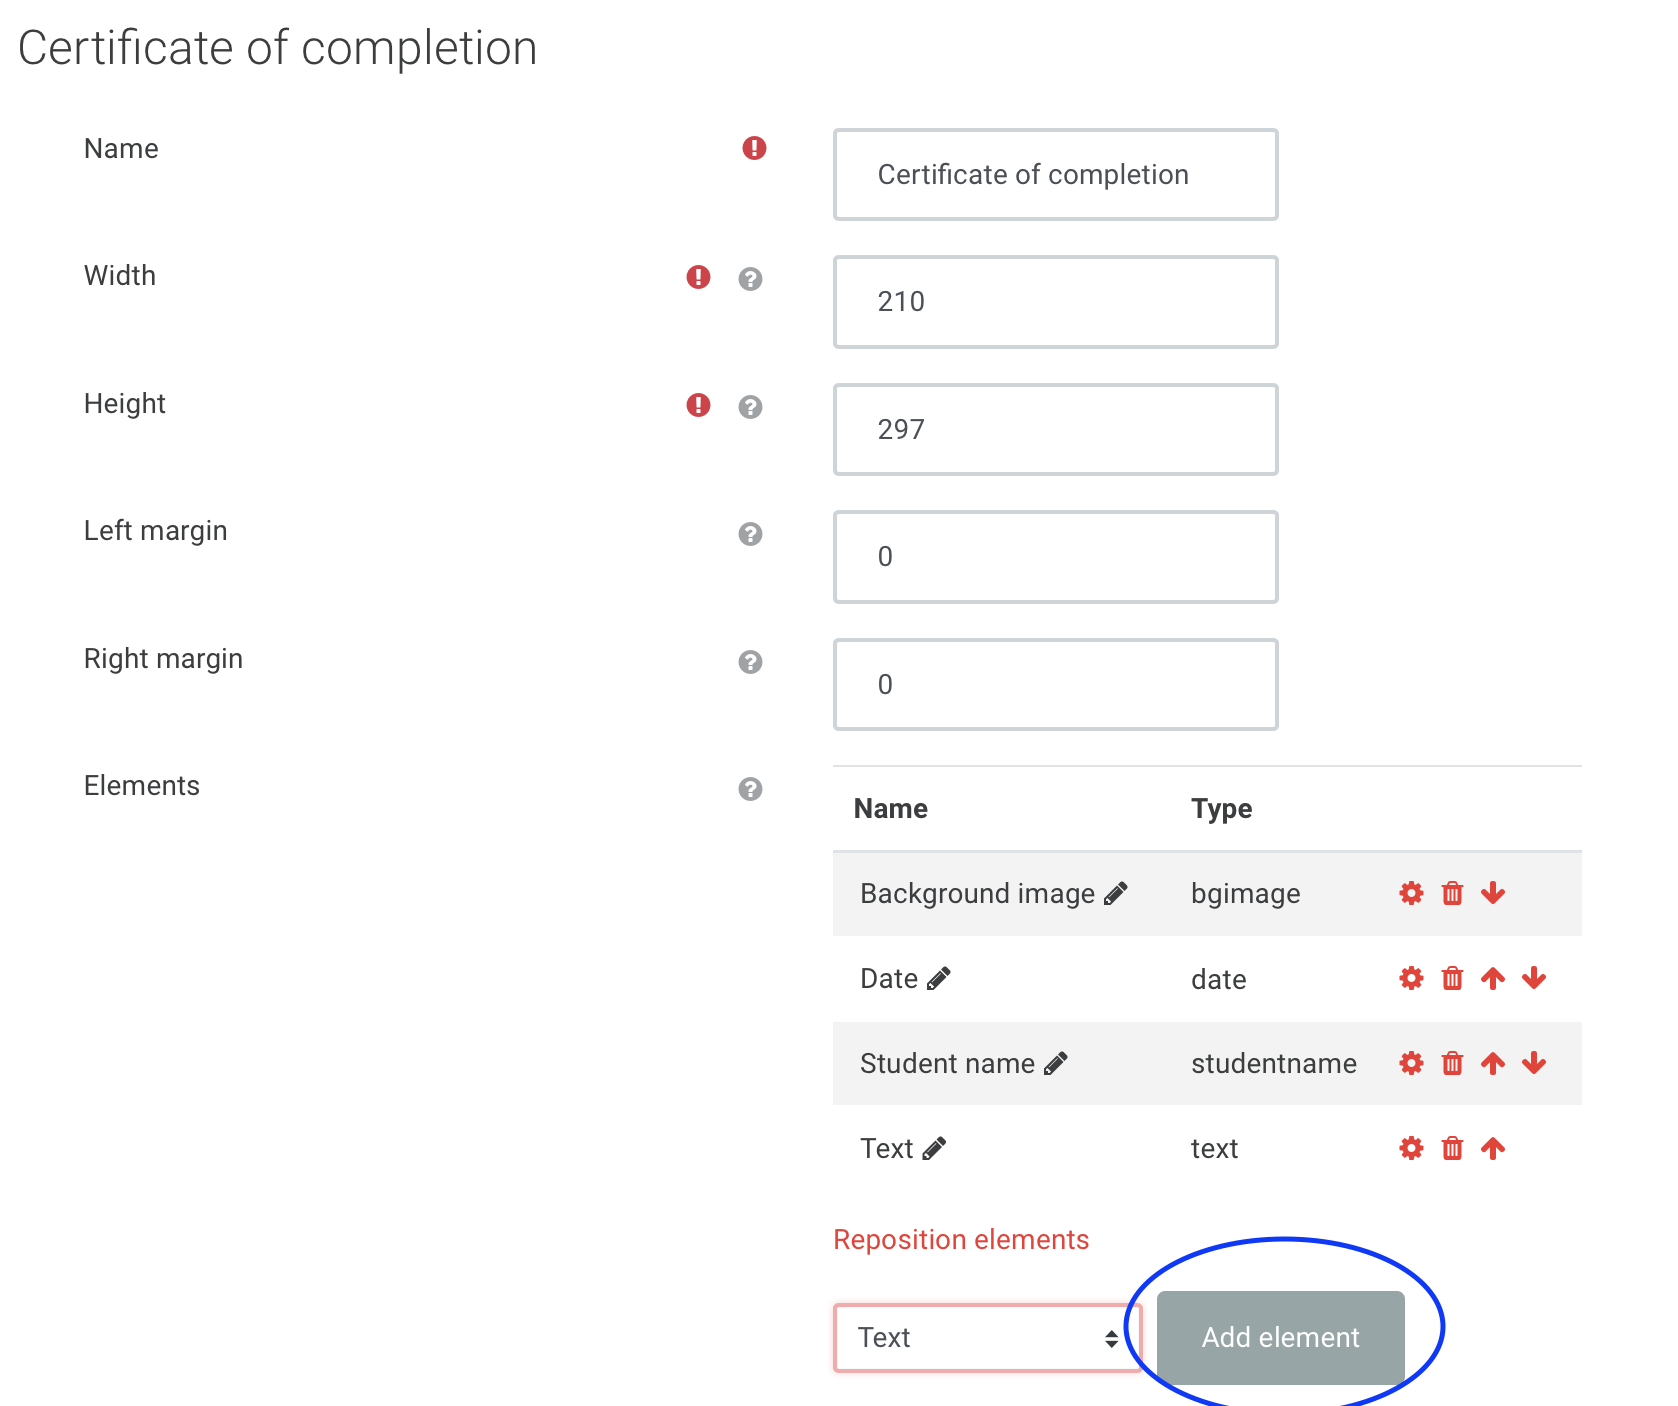
Step 3: Create and customise the certificate’s template
Create your own certificate templates or choose existing ones.
On the left-hand-side of the certificate page, in the Administration block click Edit certificate.
To create your own template:
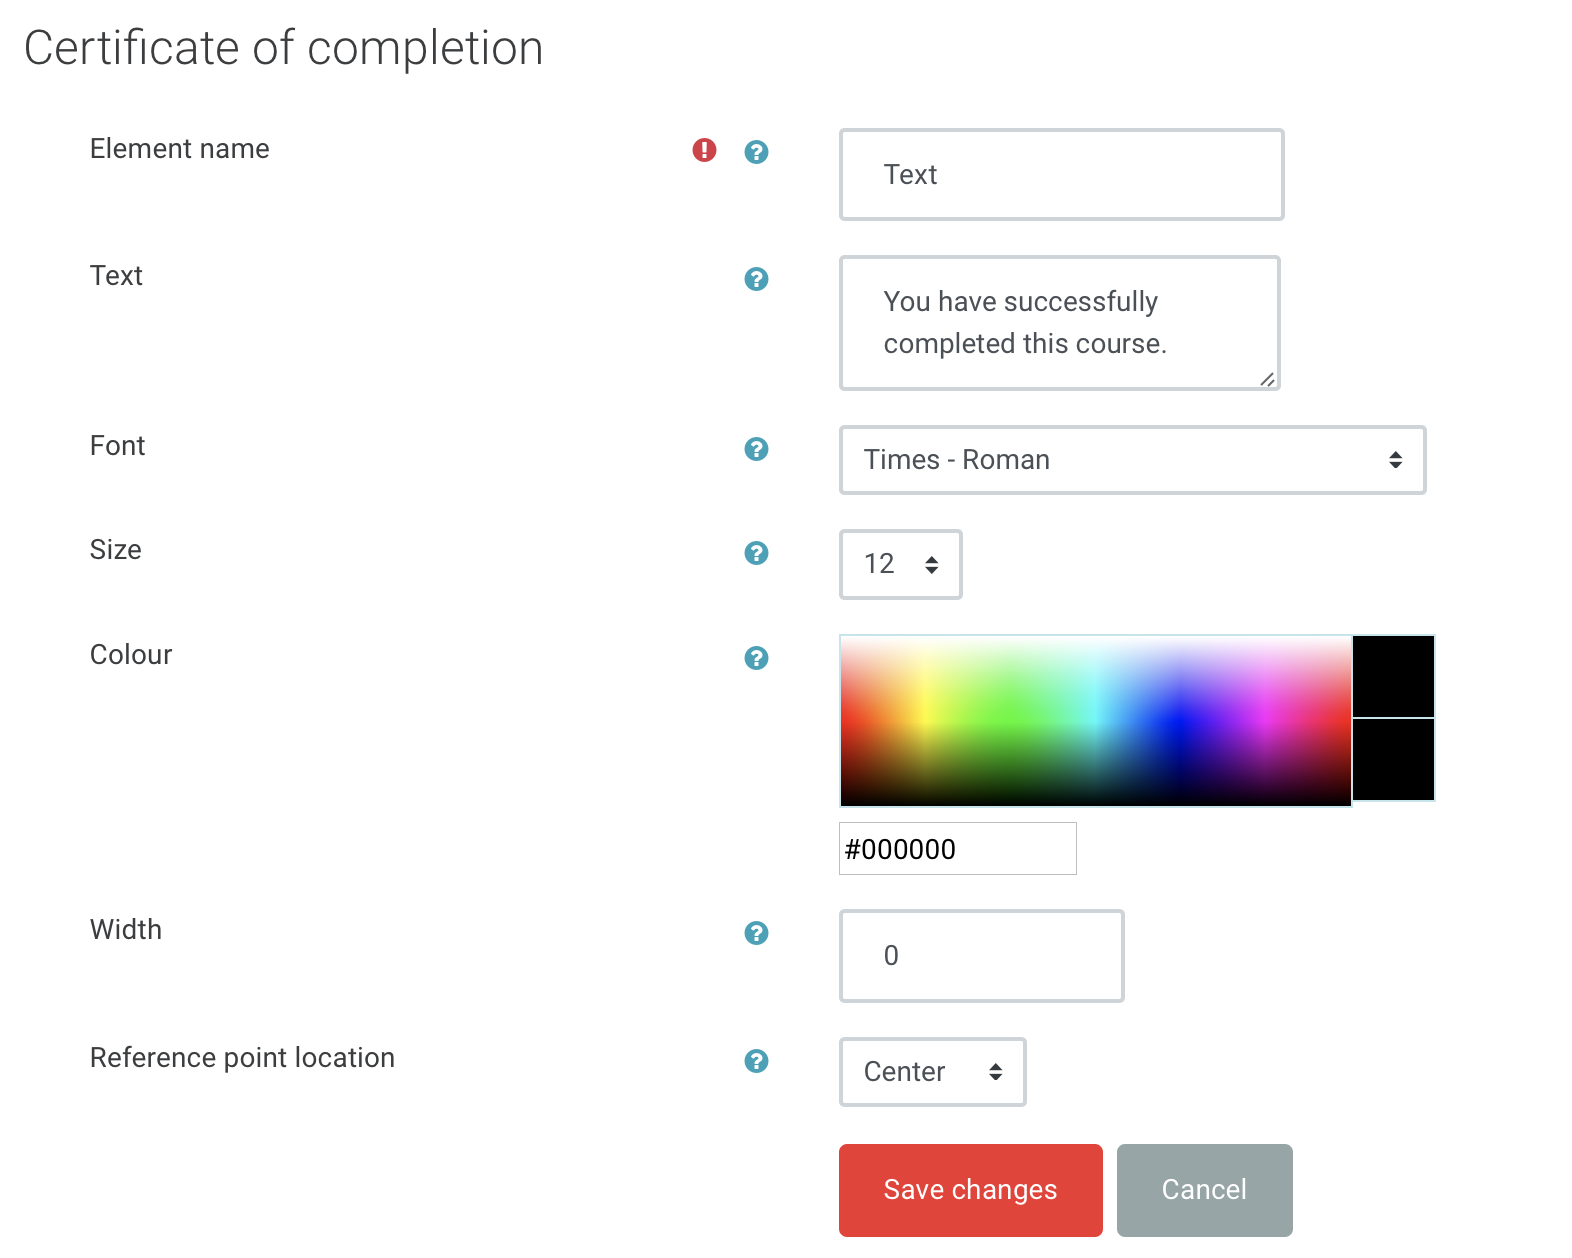
Choose a certificate element you would like to apply (Background image, Border, Date, Course name …) from the drop-down and click Add element.
To use an existing template:
Under Load template select a template you would like from the drop-down and click Load.
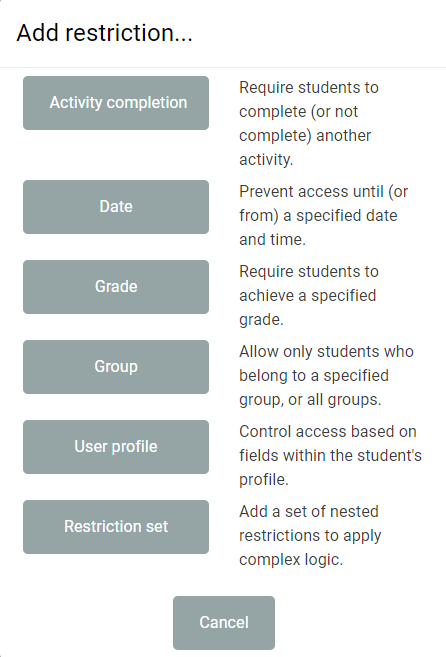
Step 3: Set conditions to issue a certificate
On the left-hand-side of the certificate page, in the Administration block click Edit settings and find Restrict access > Add restriction. Choose the relevant restriction you want the issuing of the certificate to be based on.
Click Save and return to course.
Once a student has met the conditions of the certificate activity, by clicking the View Certificate button they will be able to view and download the certificate.
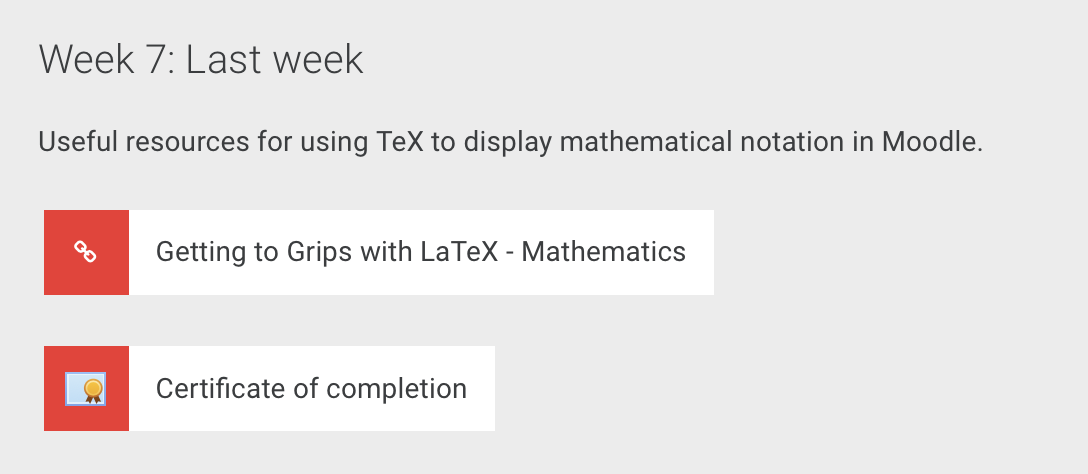
Step 4: Viewing issued certificates
To view issues certificates, click on the Custom certificate activity on your course page.
