| Table of Contents | ||
|---|---|---|
|
Why use it?
Use this activity This activity can be used as a survey to gather feedback from students or as a self-reflection activity; the questionnaire should not be used to test or assess students.
A questionnaire will allow you to create questions from a wide range of types (e.g. yes/no, essay, numeric, scale types of questions and so forth).The questionnaire should not be used to test or assess students but as survey type of activity. Responses can be viewed or not by students with the option to be anonymousanonymised and optionally displayed to students.
Step 1: Add a Questionnaire
...
Optionally, set an Open date and/or a Close date from when the quiz questionnaire will be available to complete.
...
To anonymise student identities, select the anonymous option form the drop-down.
...
If enabled, this option will allow your questionnaire to have branching questions (questions based on responses to a previous question) for Yes/No and Radio Buttons type of questions.
...
...
Content options
Create new
Select this option to start a new questionnaire.
Copy existing
Select If available, select apreviously created questionnaire from your course if you wish to reuse it or as a starting point for your new questionnaire.
...
If available, you can select a public questionnaire form another course to reuse it or as a starting point for your new questionnaire.
Click Save and display.
Step 3: Add questions
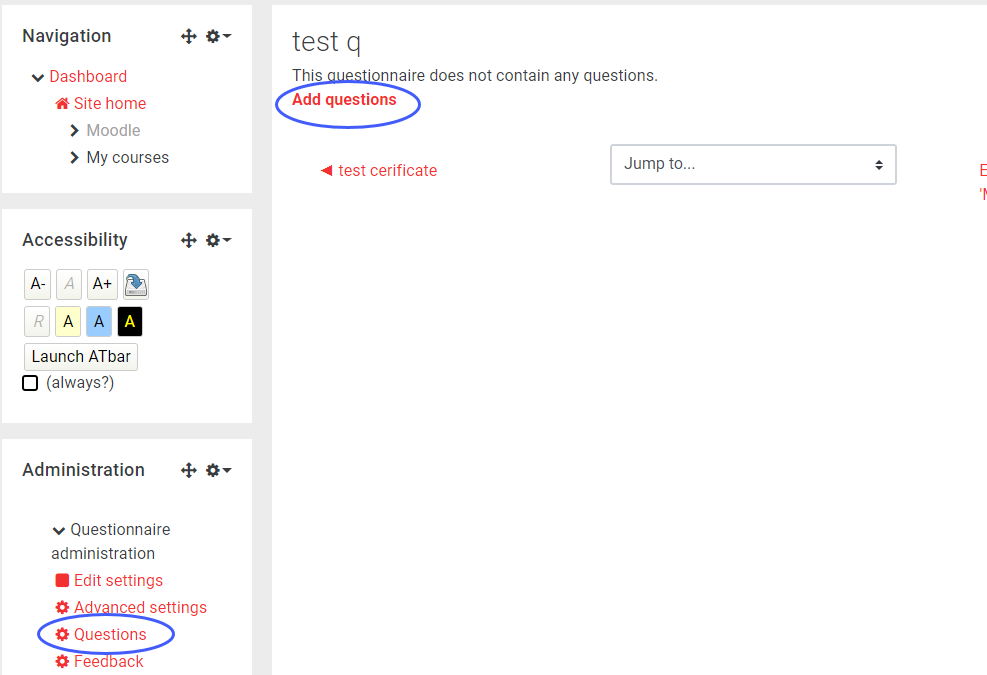
From On the questionnaire page, click Add questions or on the left-hand side of the page from in the Administration block click Questions.
| Expand | ||
|---|---|---|
| ||
 |
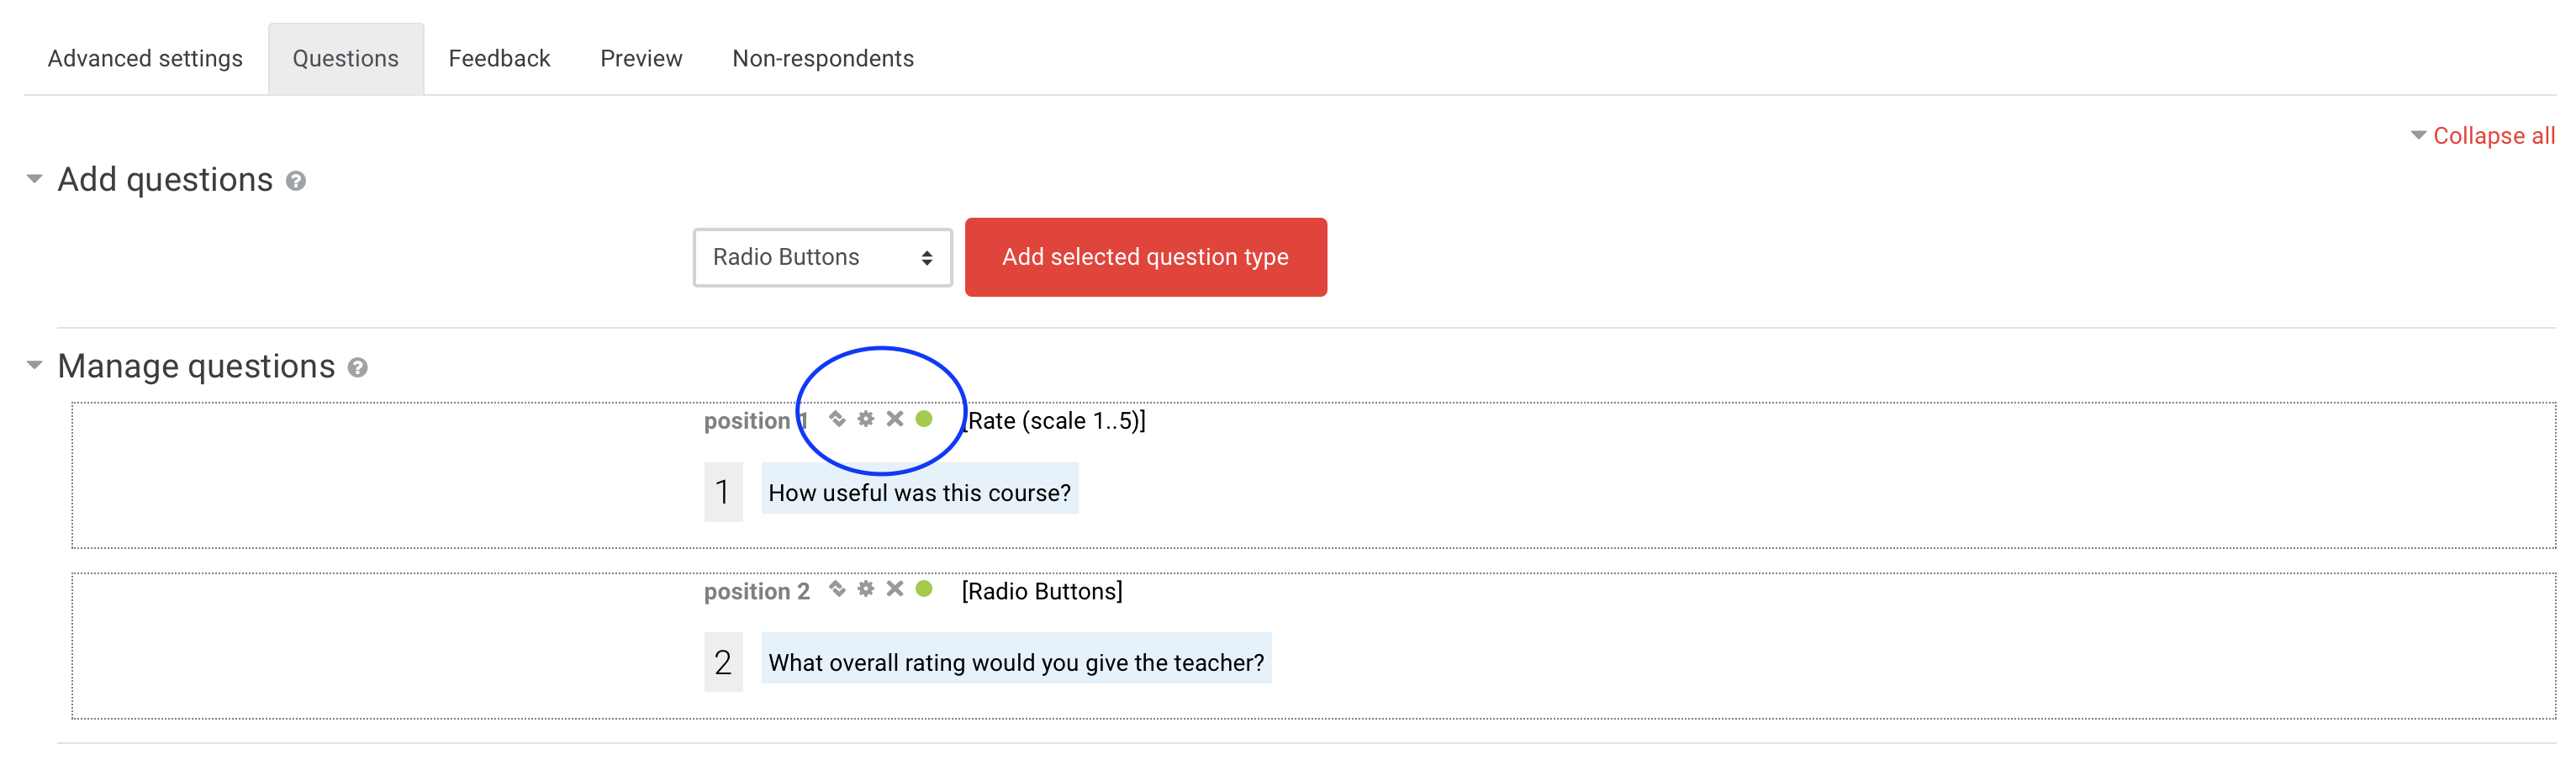
From the Add questions drop-down, select a type and click Add a selected question type.
For every question type you select, set an optional Question nameName.
| Note |
|---|
This name is mainly useful for reference if you export questions to a spreadsheet file. This is not the same as the Question text. |
Additionally, set if a Response is required for this question.
...
Step 4: Manage questions
On the left-hand side of the questionnaire page, from in the Administration block click Questions.
...
| Expand | ||
|---|---|---|
| ||
 |
Step 5: View responses
From the questionnaire page, click View all responses or on On the left-hand side of the page from in the Administration block click View all responses.
From On this page you will be able to order, delete or download responses.
...
On the left hand side of the questionnaire page, from in the Administration block click View all responses > Summary > Download as CSV.
...
| Filter by label (Content by label) | ||
|---|---|---|
|