...
Step 1: Add a Custom certificate
Go to the course page and Turn editing on. Edit Mode ON.
Scroll to the section where you want your ‘Custom certificate’ to be displayed, click Add an activity or resource and pick Custom certificate.
...
Create your own certificate templates or choose existing ones.
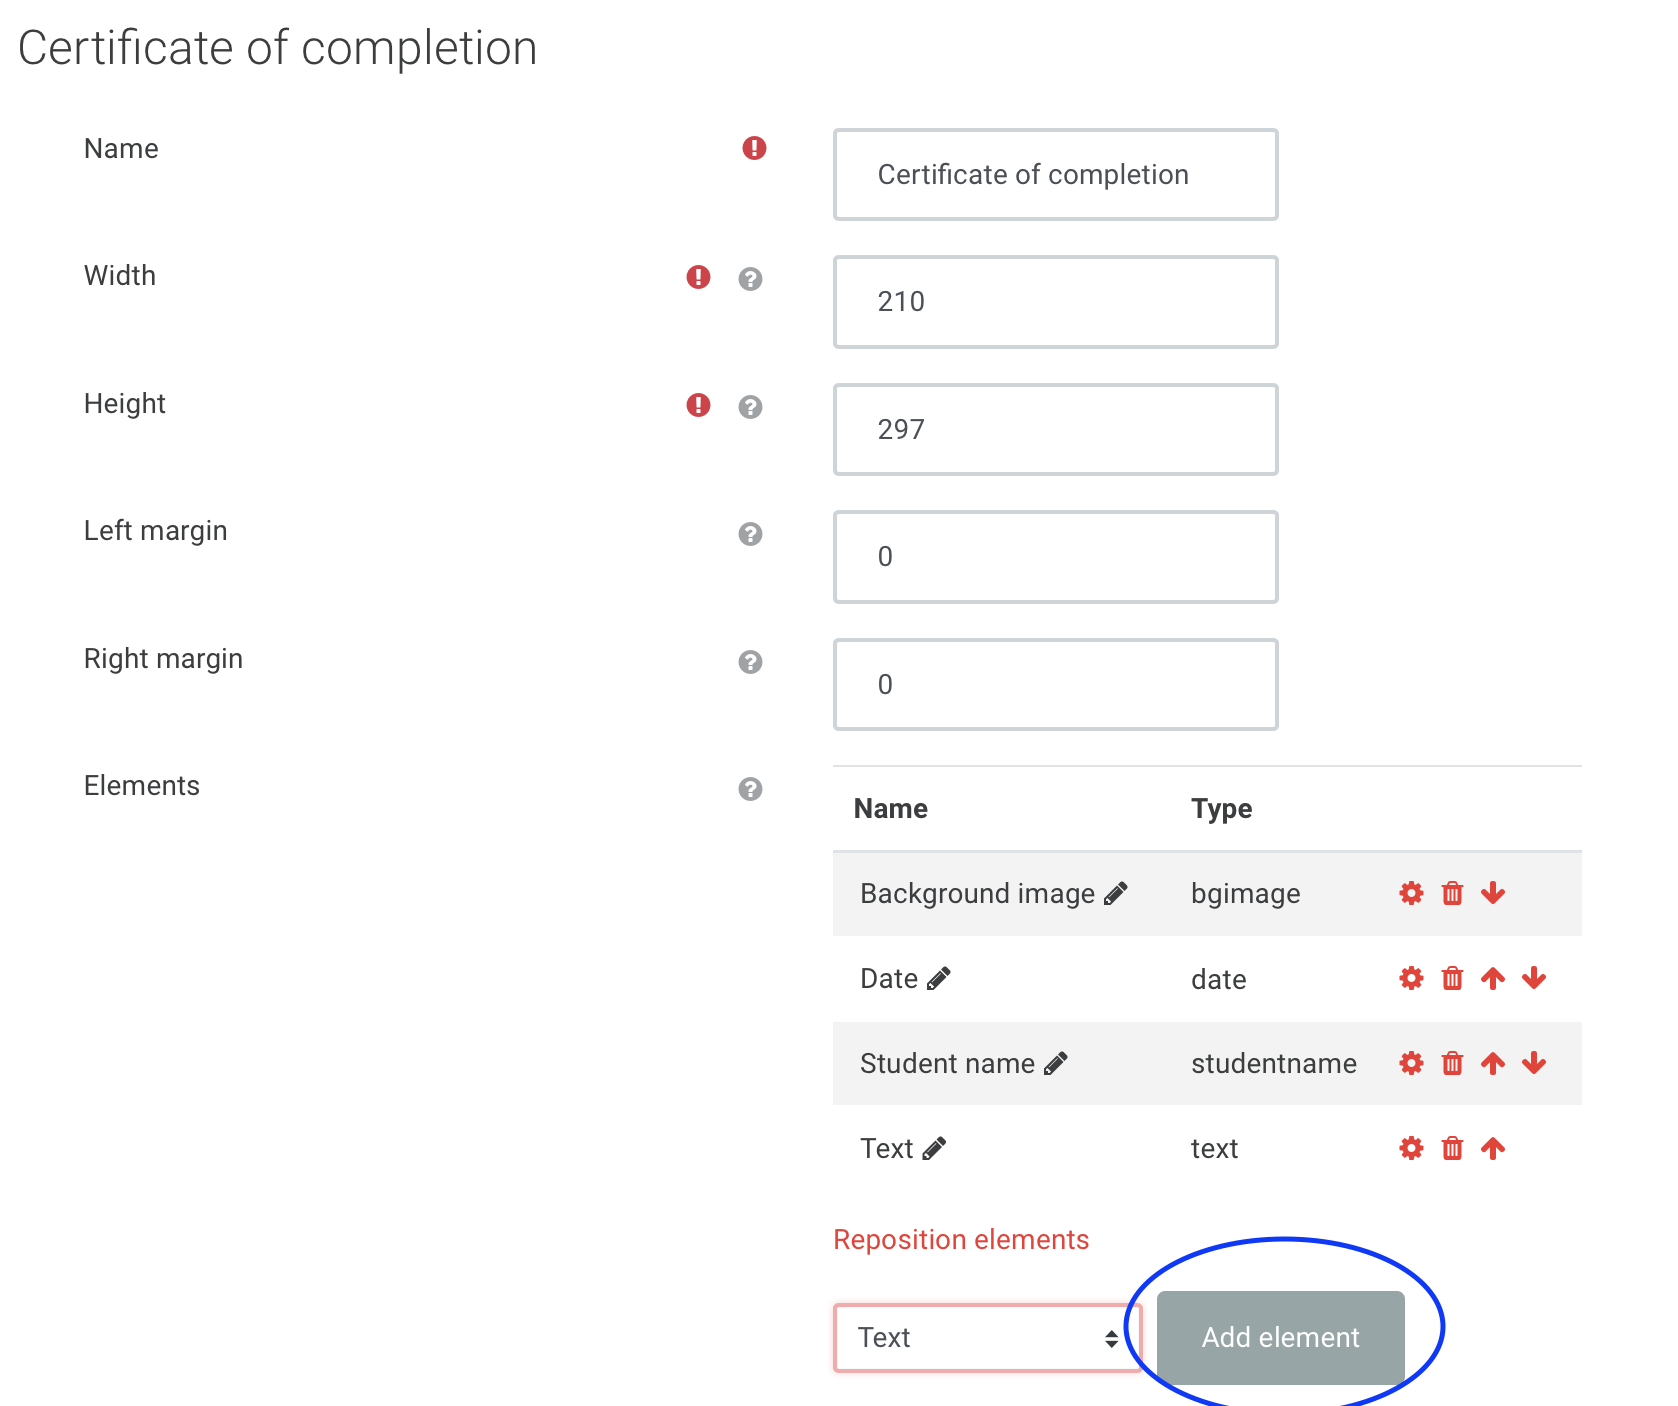
On the left-hand - side of the certificate page, in the Administration block click Edit certificate.
...
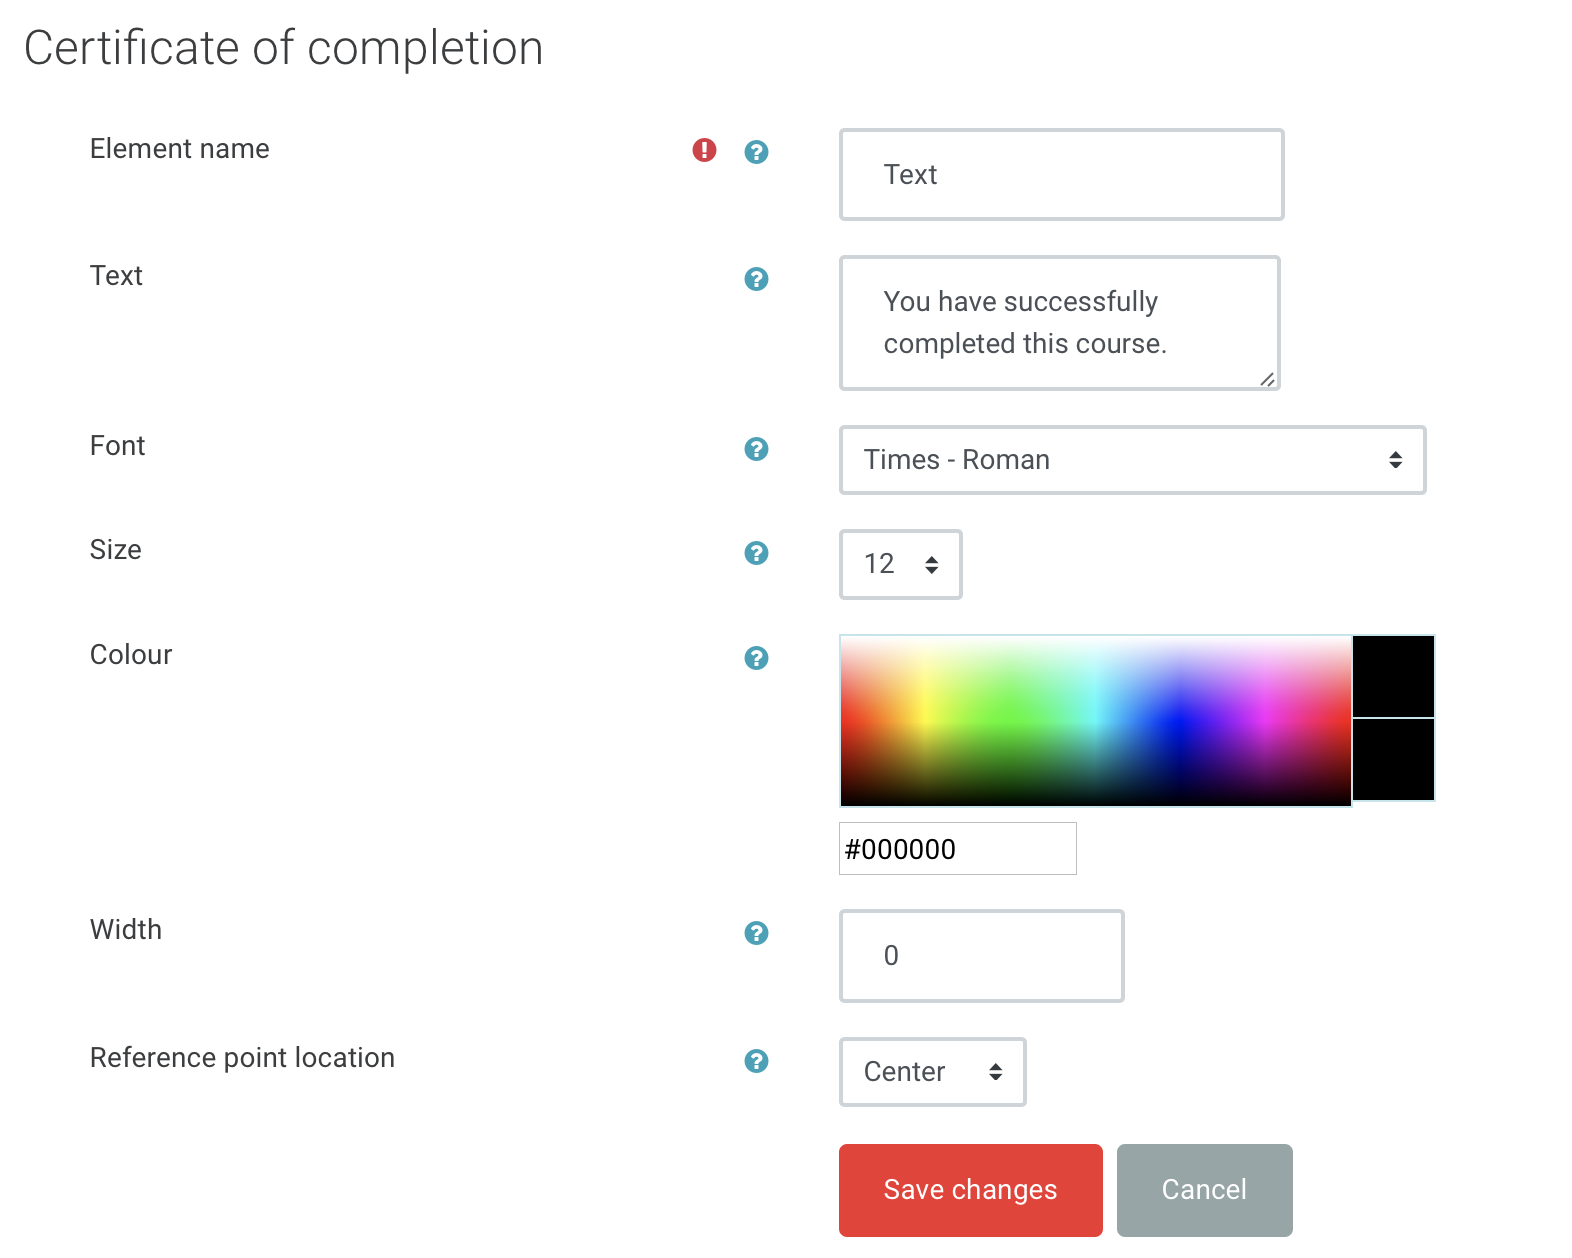
Choose a certificate element you would like to apply (Background image, Border, Date, Course name …) from the drop-down and click Add element. Apply your desired settings and then scrol down and click Save changes.
| Expand | ||
|---|---|---|
| ||
  |
...
Under Load template select a template you would like from the drop-down and click Load.
Click Save changes.
Step
...
4: Set conditions to issue a certificate
On the left-hand - side of the certificate page, in the Administration block click Edit settings and find Restrict access > Add restriction.Choose the relevant restriction you want the issuing of the certificate to be based on.
...
| Expand | ||
|---|---|---|
| ||
|
Step
...
5: Viewing issued certificates
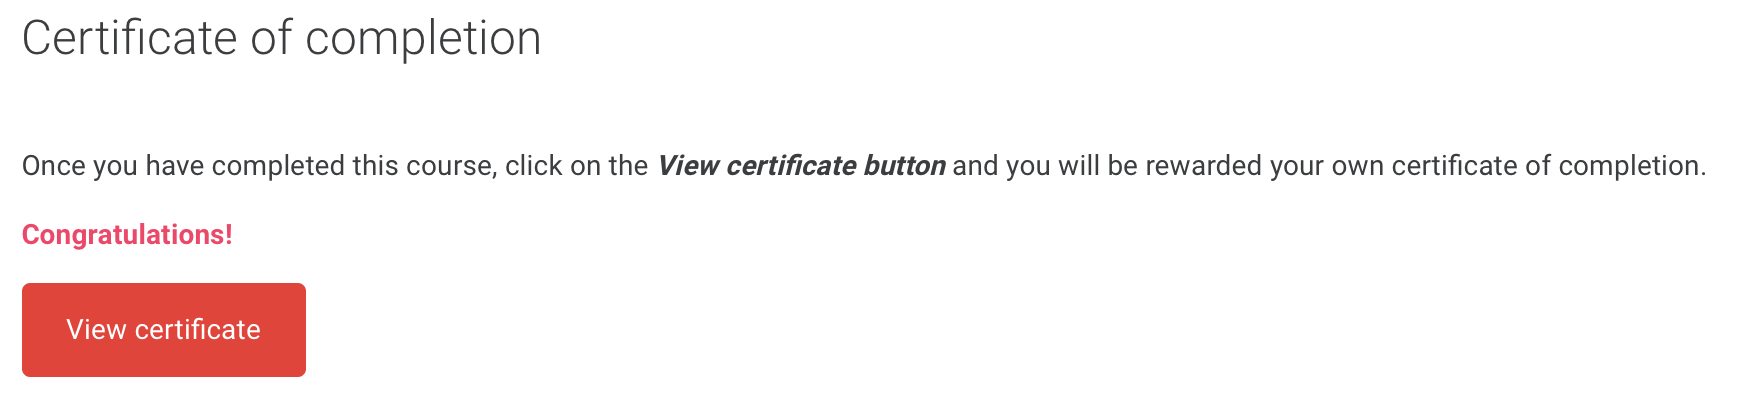
To view issues certificates, click on the Custom certificate activity on your course page.
...