GIMP (GNU Image Manipulate Programme) is a free, open-source alternative to expensive software like Adobe Photoshop. It’s powerful enough for professional graphic design, but also a great solution for basic image-editing.
The sections below will guide you through the most common tasks for which you may wish to use GIMP in your work. You can also find additional guides and tutorials at the GIMP project website.
| Table of Contents |
|---|
Getting started
Installing GIMP
GIMP is free to use and works with Windows, OS X, and Linux operating systems. The latest version of GIMP is always available for free from the GIMP website.
| Info |
|---|
The images in the tutorials below show GIMP 2.10 for Windows, but the GIMP interface is very similar for all operating systems. |
See our copyright guidance on Creative Commons and Open Access images for your projects: http://lti.lse.ac.uk/copyright/copyright-images-multimedia/
| Expand | ||
|---|---|---|
| ||
Choose the direct download option for your operating system. 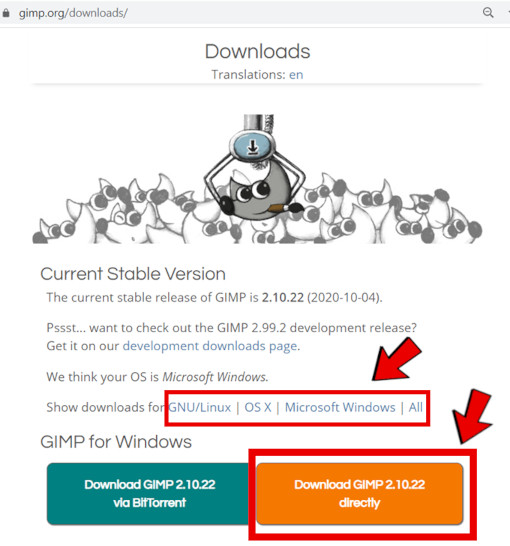 When the download has finished, open the programme and click ‘Install’. This may take several minutes. 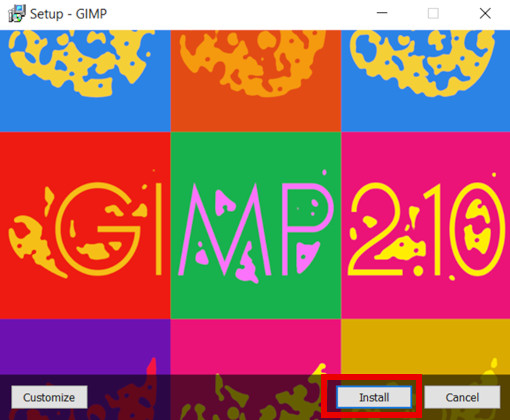 The latest version of GIMP will now be installed and ready to open. |
Navigating the interface
When you open GIMP for the first time you’ll see a workspace surrounded by control panels providing quick access to the many tools, brushes, and editing methods available.
| Expand | ||
|---|---|---|
| ||
The GIMP interface is split, by default, into four sections:
For most simple image-editing, you’ll only need to use panels 1 and 2. |
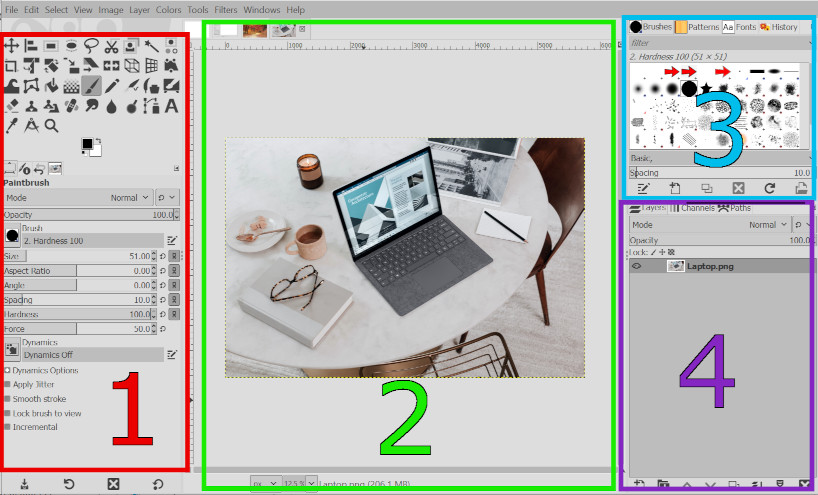
On the right of the interface (No. 1 above), you will see a toolbox full of small icons, like paintbrushes and scissors, representing different editing and transformations that can be done in GIMP. When you first install GIMP you may have some trouble finding the tools you need, as several may be grouped together to save space. Expand the instructions below to see how to manage and ungroup them.
| Expand | ||
|---|---|---|
| ||
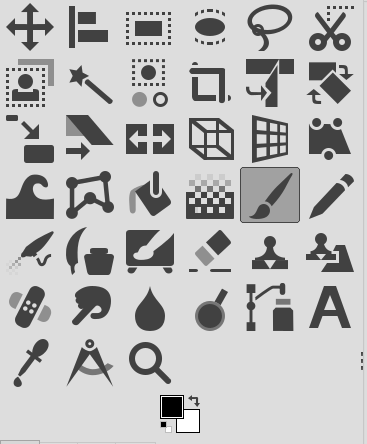
GIMP groups similar tools together to save space on your interface. For example, the paintbrush and pencil tools (for drawing different styles of lines) are grouped together, as are the various tools for selecting different shapes (rectangles, ellipses, etc). You can see which tools are grouped together by right-clicking on a group and then selecting the tool that you want.
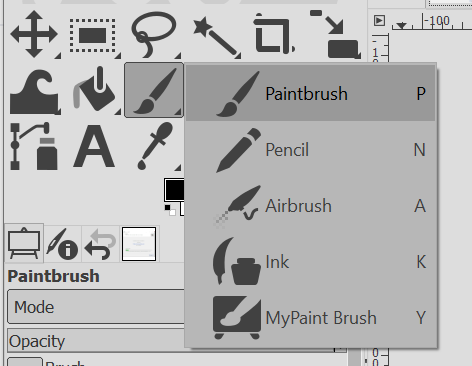 You can also ungroup the tools so that all tools are visible as separate icons. To do this click Edit (GIMP on Mac)> Preferences > Interface > Toolbox and deselect 'Use tool groups'
 You will find that you use some of these tools all the time and never use others at all. Hovering over the icon will tell you the name of each tool. Details of what each tool is for can be found in the GIMP manual. |
Adjusting the interface for accessibility
The default theme for GIMP is dark and the tool icons are small. Before using the software you may wish to adjust your settings.
| Expand | ||
|---|---|---|
| ||
 Example of Light theme using large icons. |
Resizing images
Most cameras and scanners produce very large images - both in terms of their dimensions and their file-size. GIMP makes it simple to check the true size of an image file and adjust it for use in printed documents or on websites.

One-minute video
‘Resizing an Image with GIMP’ (Opens in new window)
Checking the true size of an image
Some programmes – including Word and PowerPoint – shrink images for display while still saving them at full size, increasing the overall size of a file. You can see the true size of an image by opening it in GIMP
| Expand | ||
|---|---|---|
| ||
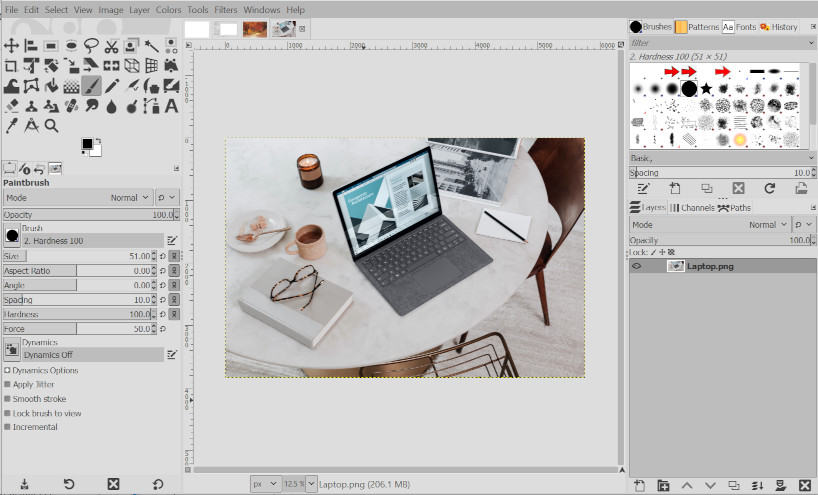
 An information box at the bottom of your image also gives you quick information about the zoom level of your image and its current file-size: 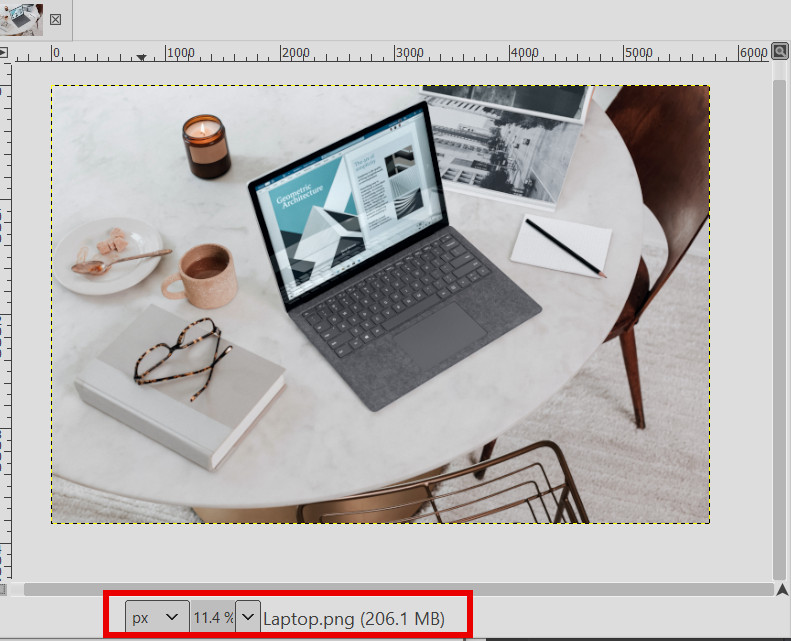 The image in this example is very large and has a correspondingly large file-size (206 MB). It should be resized for use in documents or online. |
Making an image smaller
GIMP makes it very simple to scale images down while keeping them in proportion. You can also choose the best resolution for various web or print uses.
| Expand | ||
|---|---|---|
| ||
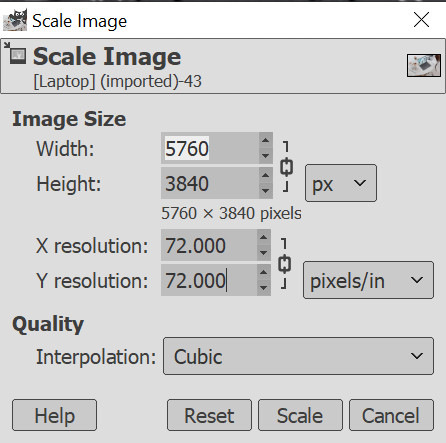
If you do not wish to enter a size in pixels you can also choose a relative size for the image by changing the dropdown menu from px to percentage. When scaling an image you have the option to set the resolution. The higher the resolution, the clearer the image will remain at larger sizes when printed. Changing this will have no impact on your file size or how your file displays onscreen. Important: By default, GIMP locks your image ratio: if you increase the width the height will automatically adjust to keep the image in proportion and vice versa. Clicking the link icon will break it allowing you to enter your own value in each box; however, this may skew your image. In most cases, it is best to keep the chain closed.  |
Making an image larger
Images increased to larger than their original size will always have some loss of quality. The more you try to enlarge an image the blurrier or more pixelated it is likely to become. It is always better to avoid enlarging images whenever possible. However, GIMP has some features built-in to combat loss of image quality.
| Expand | ||
|---|---|---|
| ||
When you increase the size of an image, GIMP will automatically try to optimise the image. You can also try to boost image quality by changing the method of interpolation (the way in which GIMP guesses how and where to add area to an image without distorting it). When scaling your image up, select the ‘Cubic’ ‘NoHalo’ or ‘LoHalo’ modes to see which gives the best results. 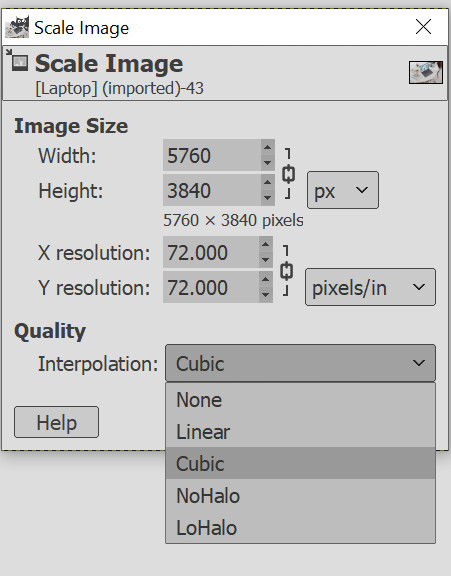 If the image is still unclear see the section below on Retouching images. |
Saving images
In GIMP there are two save options - one that allows you to keep working on the image as a GIMP project and one that turns the finished project into a standard image file.

One-minute video
‘Saving and Exporting’
(Opens in new window)
Saving vs Exporting
GIMP saves images in a file format called ‘.xcf’. Files in .xcf format can be opened and edited with GIMP but need to be exported to a different image format for use in documents and on websites.
| Expand | ||
|---|---|---|
| ||
When you are satisfied with your edited image you should save it to work on again later and then export it into an image file format that can be used by other programmes and browsers.
Exporting creates a new file, separate from the .xcf file. If you continue to work on your file after exporting, changes will be made to the .xcf file but not to your exported image. |
Choosing a file format
GIMP allows you to choose from a huge array of image types when you export your file. In most cases you will only need to consider the following two options:
JPEG (.jpg/.jpeg) is a good choice for keeping image files small for use on websites. JPEG format compresses an image trading some details for smaller file size. It’s a good choice for photographs and colourful images.
PNG (.png) creates slightly larger files, minimising loss of detail. It’s a good choice for diagrams and images where crisp details are important. PNG files also support transparency, which JPEGs do not.
| Expand | ||
|---|---|---|
| ||
To set the file format for your image you can choose from a dropdown menu or type the file extension yourself. By default, GIMP will automatically save images as .png:  Click export and then click export again to confirm your settings on the pop-up window. 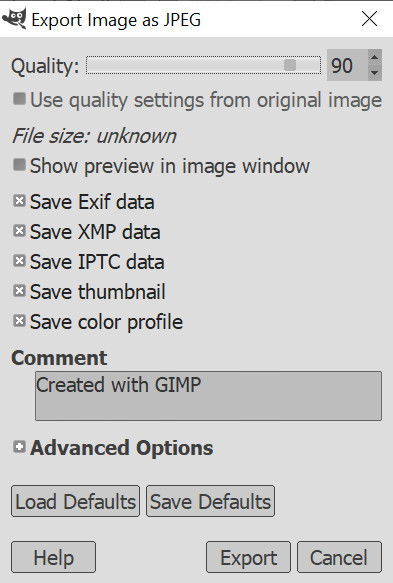 In the vast majority of cases, you will not need to change any of the export options. If your file-size is still too large you can experiment with adjusting the quality slider. |
Converting image formats
You can also use GIMP’s export function to change the file format of any supported image. For example, you may have a scanned file with a .tiff extension that you wish to turn into a PNG for use on Moodle.
| Expand | ||
|---|---|---|
| ||
|
Cropping, flipping, and rotating
Some of the most useful tools in the GIMP toolbox are the cropping, flipping, and rotating tools.

One-minute video
‘Cropping Images’
(Opens in new window)
Cropping an image
GIMP’s crop tool can be used to cut an image down to size.

The GIMP crop tool

Uncropped image

Cropped image
| Expand | ||
|---|---|---|
| ||
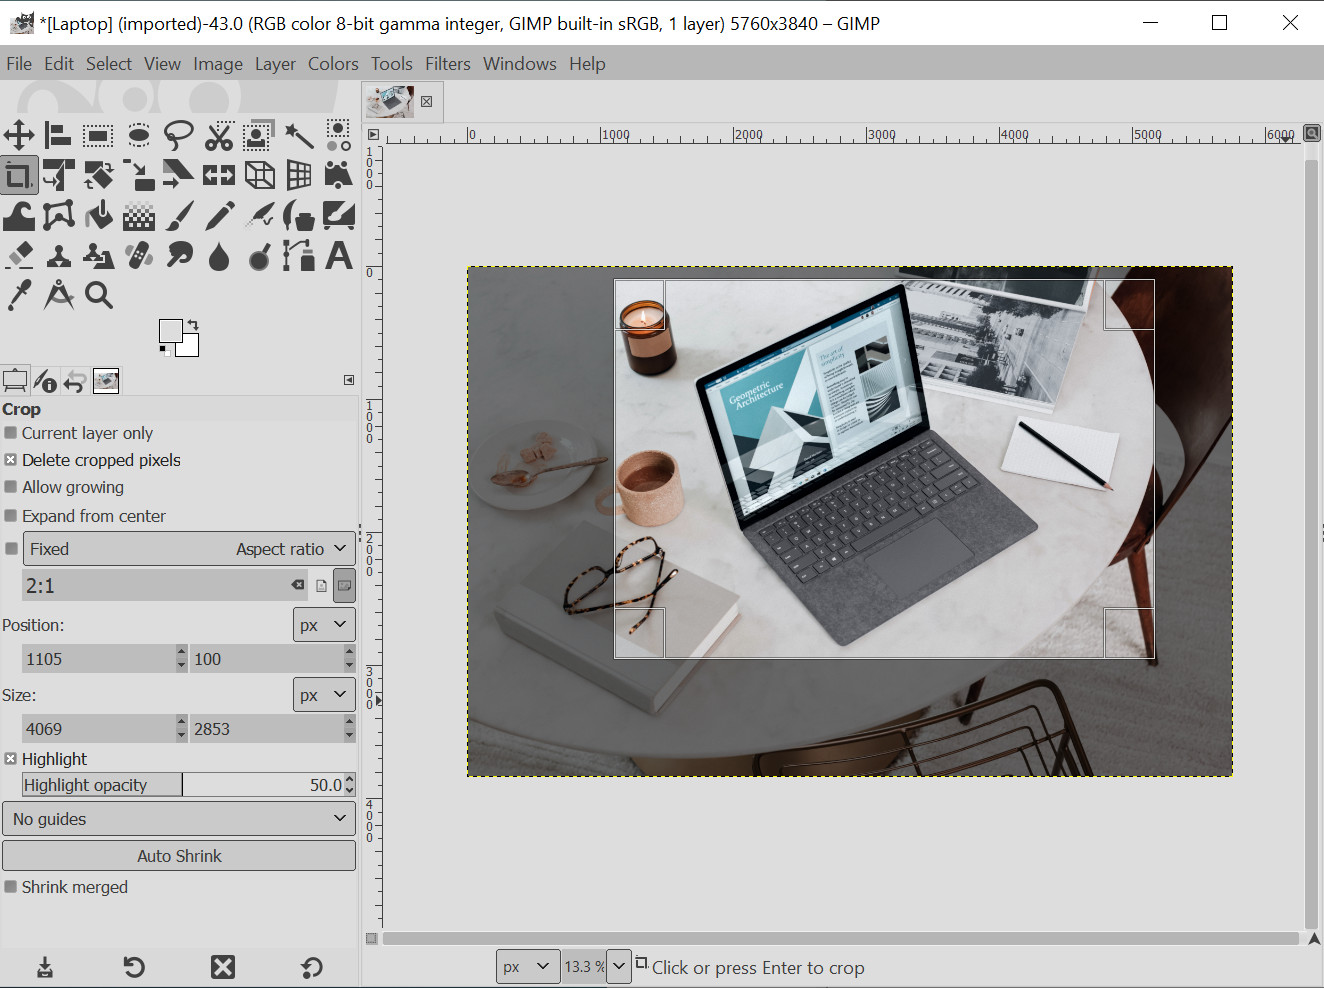
Note: If you wish to crop your image to a specific width, height, or aspect ratio you can set these options in the tool menu on the left. 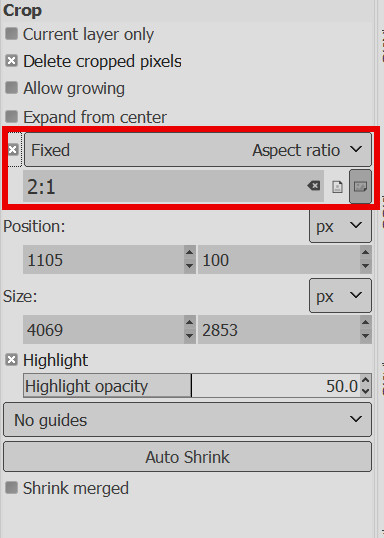 In this example. the cropping window will always maintain a 2:1 width-to-height ratio. |
Flipping an image
GIMP’s flip tool can invert an image or a section of an image along its vertical or horizontal axis.

The GIMP flip tool
Unflipped image

Flipped image
| Expand | ||
|---|---|---|
| ||
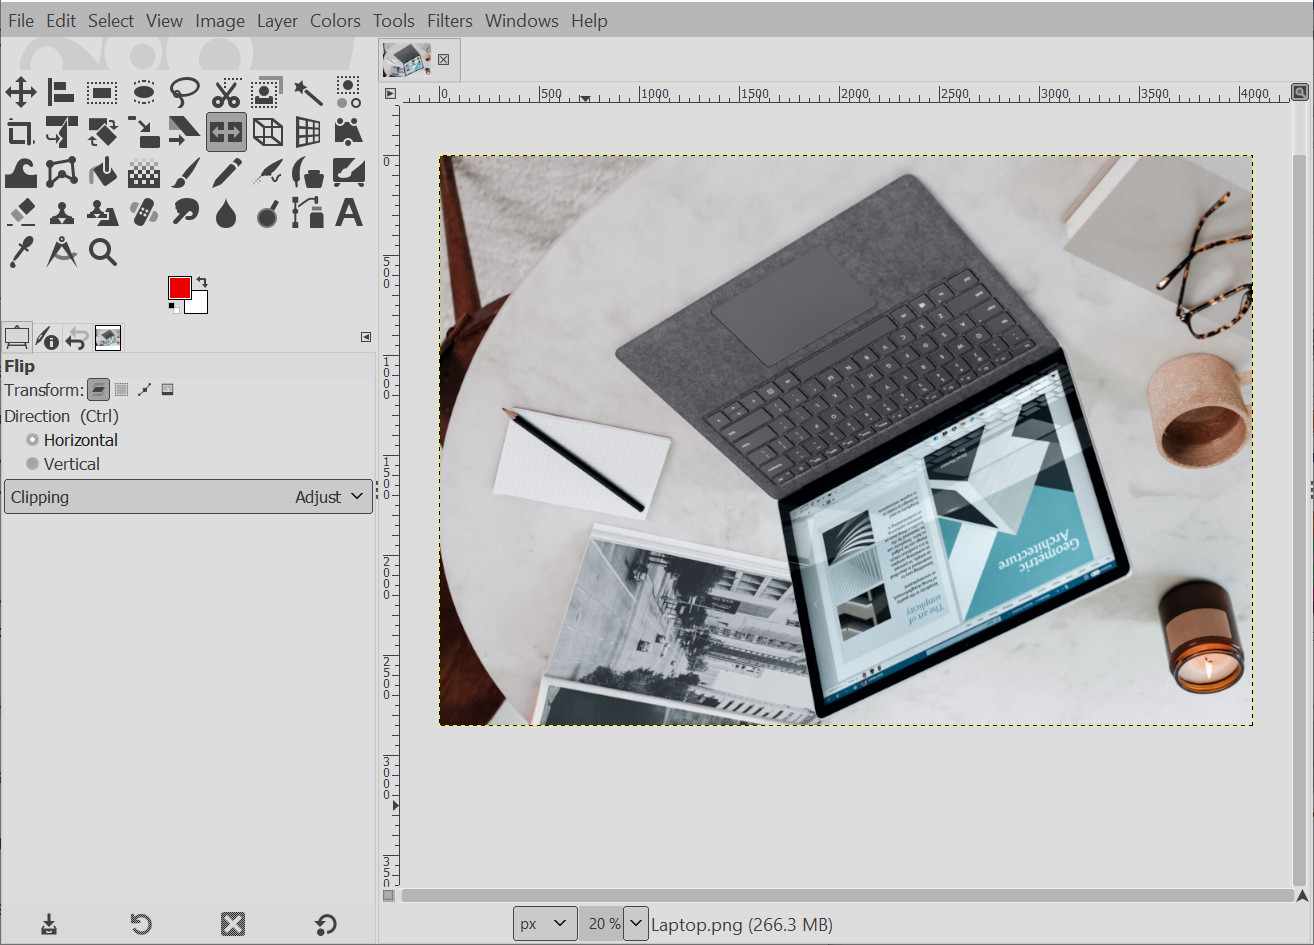 Choose the flip tool from the toolbox. If you cannot see the cropping tool go to Tools > Transform Tools > Flip to select it. 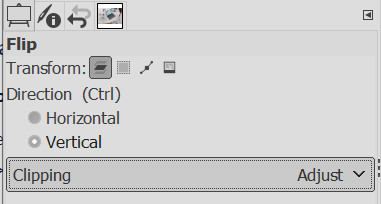
Note: If you have part of an image selected only the selected section of the image will be flipped. To make sure there are no active selections click Select > None first. |
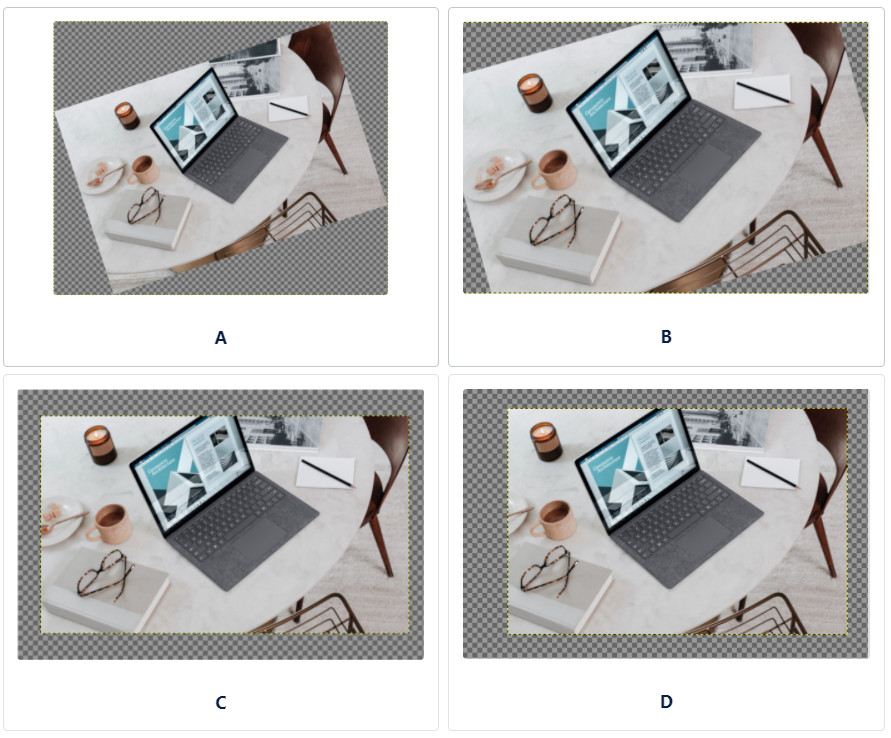
Rotating or straightening and image
GIMP’s rotate tool can be used to spin an image or a section of an image around a central pivot.

The GIMP rotate tool

Unrotated image

Rotated image
| Expand | ||
|---|---|---|
| ||
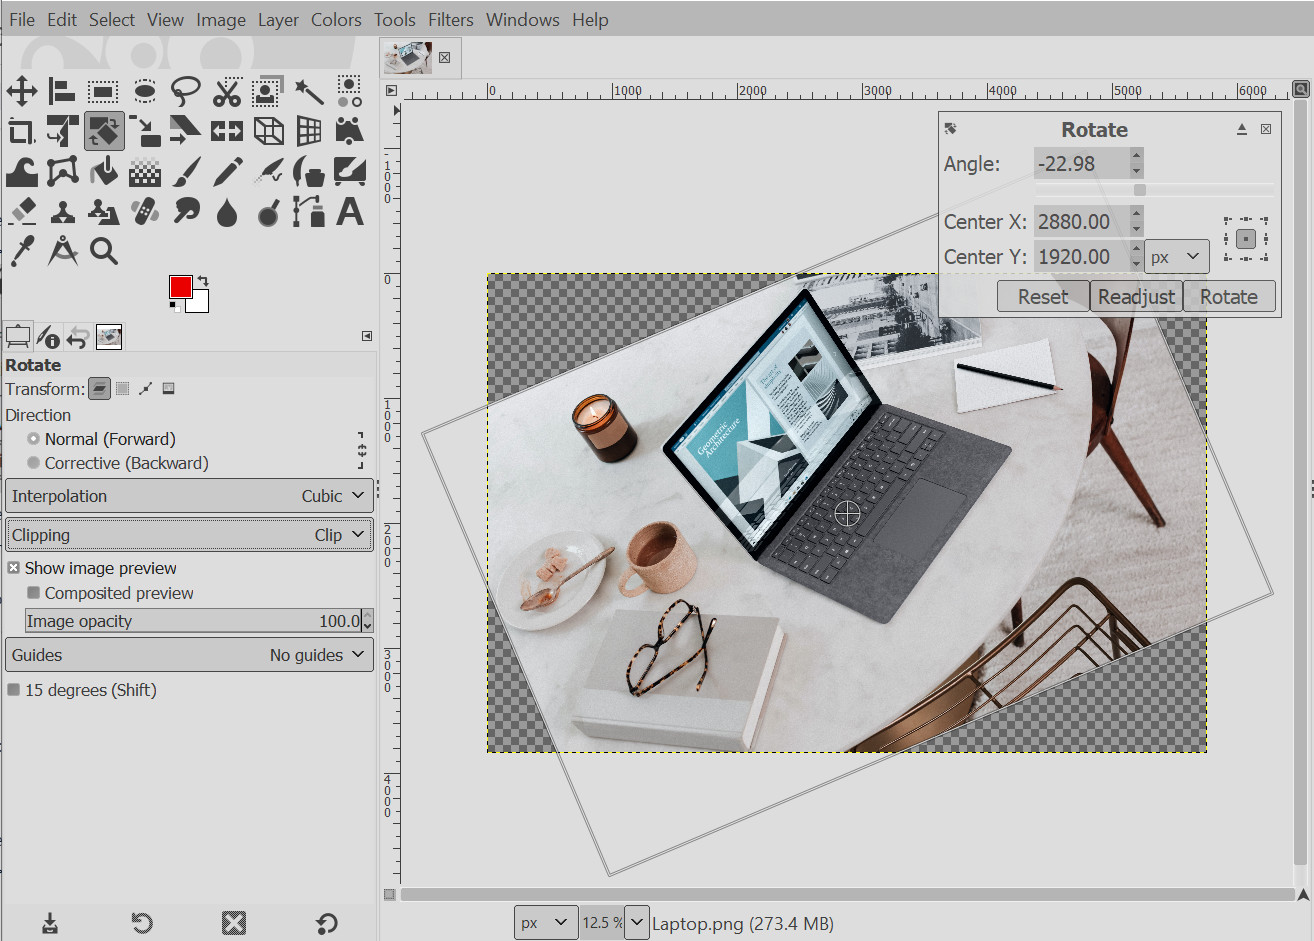
 |
Retouching Images
GIMP has many filters that can be used to adjust the brightness, sharpness, and contrast of your images. You can also quickly edit the hue and saturation profile to change the colours of all or part of your image.
One-minute video
‘Grayscaling Images’
(Opens in new window)
Sharpen and blur
To sharpen an image click Filters > Enhance > Sharpen and adjust the slider until you are satisfied. Then click OK.
To blur an image click Filters > Blur > Gaussian Blur and adjust the slider until you are satisfied. Then click OK.
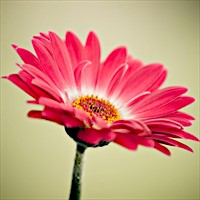
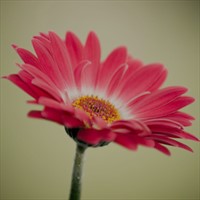
No filter
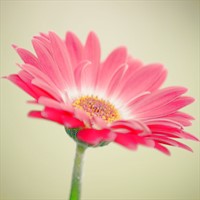
Filters > Enhance > Sharpen
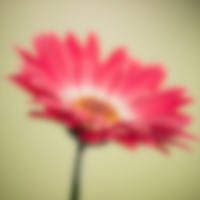
Filters > Blur > Gaussian Blur
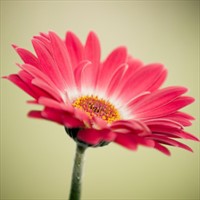
Hue, saturation, lightness
To adjust the levels and saturation of colours in your image click Colors > Hue-Saturation… and adjust the hue, lightness and saturation sliders until you are satisfied. Then click OK.
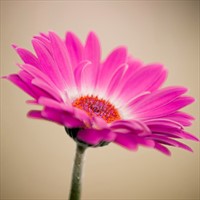
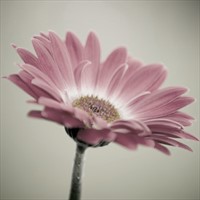
Hue adjusted towards pink
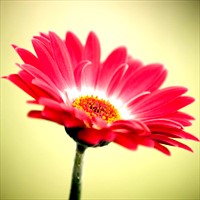
Lightness increased
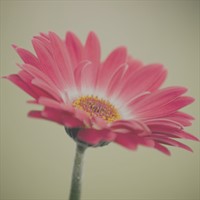
Saturation decreased
Brightness, contrast
To alter the balance and contrast of the bright and dark areas of your image click Colors > Brightness-Contrast… and adjust the sliders until you are satisfied. Then click OK.
No filter

Brightness up / Brightness down
Contrast up / Contrast down
Removing small details
Sometimes you may need to remove a small detail or mark from an image. GIMP’s clone tool is a good option for this.

The GIMP clone tool

Image of paper with coffee stain
Coffee stain removed with clone
| Expand | ||
|---|---|---|
| ||
Tip: choose an area close to the stain and paint in small sections for the best results. |
Adding text or logos
The best way to add text or a logo to an image is by using layers. This leaves the image underneath unchanged and makes it easier to move or change your text/logo.

One-minute video
‘Adding Text to Images’
(Opens in new window)
Adding a logo
If you have a logo or watermark file, you can easily add it to your image as a new layer in GIMP.
| Expand | ||
|---|---|---|
| ||
|
Adding text
Sometimes it is useful to be able to add text to images, charts, or graphs. GIMP has built-in tools for creating and editing text layers.
| Expand | ||
|---|---|---|
| ||
To reposition your text
|
Improving text legibility with labels
You can make your text more legible by adding an extra layer between your text and your image and filling it with a colour to form a background label for your text.
One-minute video
‘Increasing Text Legibility’
(Opens in new window)
| Expand | ||
|---|---|---|
| ||
|
Drawing Shapes
Drawing tools are useful for circling details and adding guiding arrows etc to images. In GIMP there are two kinds of drawing tools.
The paintbrush or pencil tools can be used for making straight lines or drawing freeform.
The selection tools can be used for drawing polygons.
Using selection tools for polygons may be confusing at first if you are used to other drawing programs, but is easy and useful once you learn how.
Free-form and Straight Lines
| Expand | ||
|---|---|---|
| ||
 |
Polygons
| Expand | ||
|---|---|---|
| ||
 |
Quick-start videos
Adding Text to an Image with GIMP [01:26]
Increasing Text Legibility on Images with GIMP [01:40]
Resizing an Image with GIMP [01:04]
Grayscaling Images with GIMP [00:43]

Cropping an image with GIMP [01:12]
Saving and Exporting Images with GIMP [01:49]
Further information
You can find additional guides and tutorials at the GIMP project website.
This 2-hour video covers all the basics and some more advanced concepts.
Request an additional tutorial
If you would like advice or instructions for an image-editing task not covered here please contact eden.digital@lse.ac.uk for advice.