...
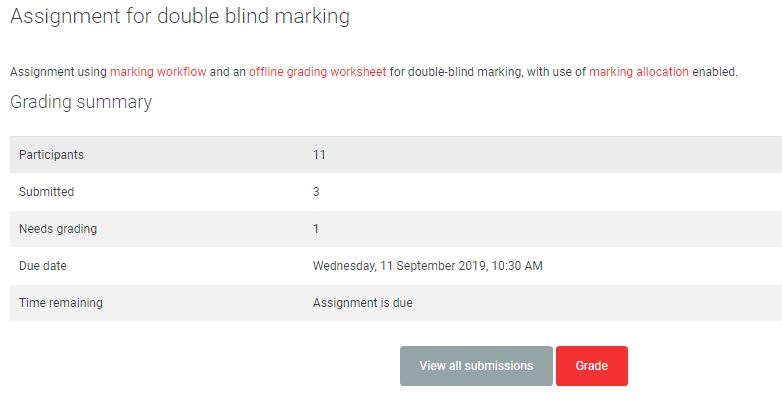
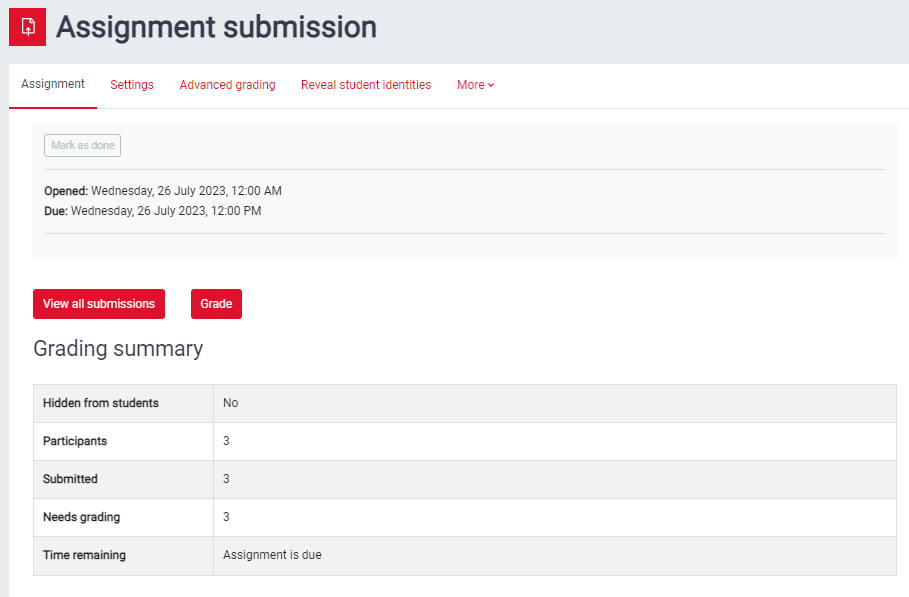
Once the deadline for students to submit has passed, click on the assignment. This will bring up the Grading summary which will show the number of participants and submissions. Click on View all submissionsto view the submissions table.
| Expand |
|---|
  |
The marking/submissions table lists all students and their submissions. If ‘anonymous submissions’ is enabled, submissions are identified by a participant number unique to this assignment.
...
| Expand | ||
|---|---|---|
| ||
  |
Step 5: Enter marks and feedback
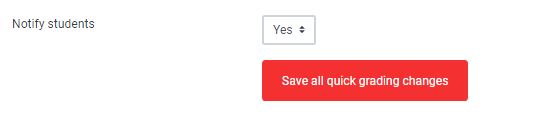
Marks and feedback can now be entered directly into the submissions table. Make sure you select the Save all quick grading changes button at the bottom of the table to save your entries.
| Expand |
|---|
  |
Step 6: Release marks
...
Marking workflow is enabled by default. To release the marks using marking workflow see below
When you are ready to release marks to students, select the submissions for which you want to use marking workflow using the Select box to left of each submission – to select all submissions, click the Select all box under Select. Scroll to the bottom of the page and from the drop-down menu With selected… select Set marking workflow state and Go. You will be asked to confirm, click ok OK.
Select Released from the drop down options and then save changes. At this stage (and earlier stages) you can choose to Notify students by selecting Yes to generate an email.
Students will then be able to review their grades and feedback.
...