...
Give the quiz a meaningful Name and use the Description to explain what the students will have to do, e.g. whether they can attempt the quiz multiple times.
Timing
Specific times can be set for when the quiz is accessible for attempts to be made. You can set a time to Open the quiz and Close the quiz. After the closing time, students will not be able to start a new attempt. However, Answers that the student submits after the quiz closing date will be saved but they will be able to continue an existing attemptnot be marked.
After the quiz has closed, you can allow students to see the quiz description and review their attempts based on the settings selected for ‘Review options’ (see below).
You can optionally choose a Time limitafter which Moodle will automatically submit the quiz with answers completed to that point. In the absence of a time limit, students can take as long as they like to complete the quiz prior to the closing time.
The When time expires setting will control what happens if the student fails to submit their quiz attempt before the time expires.
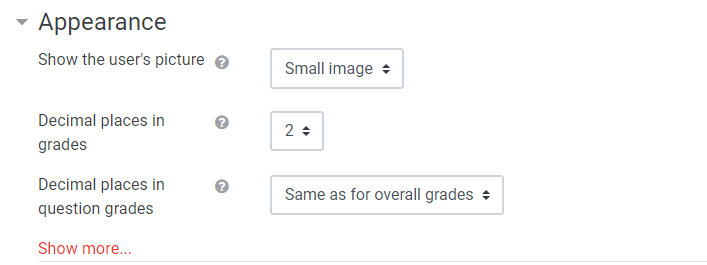
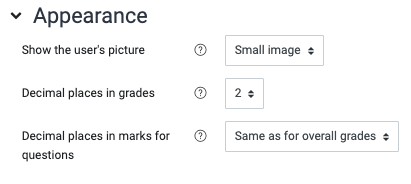
Grade
Grade category – set the category in which the activity’s grades are placed in the gradebook
Grade to pass - – set a pass grade, which then would define activity completion.
Attempts allowed – set the number of allowed attempts. Formative (self test) quizzes will usually allow students multiple attempts, summative (exam condition) quizzes only one.
Grading method– which grade of several attempts (highest, average etc.) is recorded.
...
| Expand | ||
|---|---|---|
| ||
  |
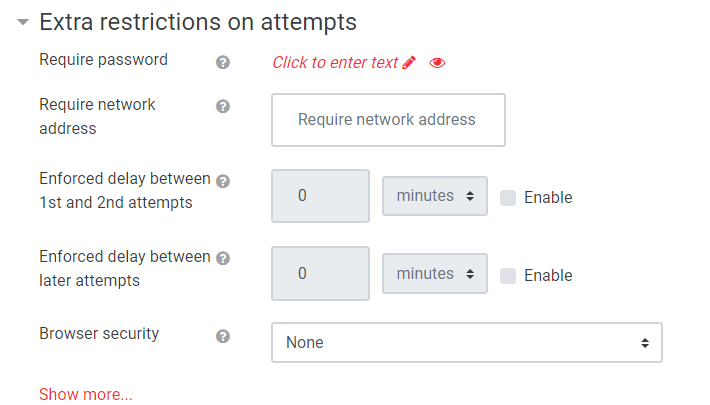
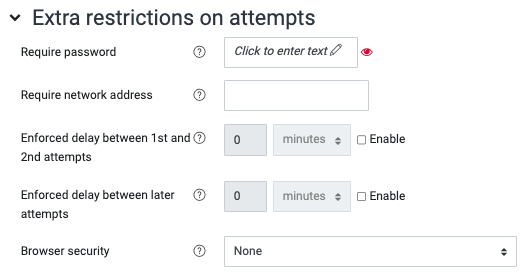
Extra restrictions on attempts
...
| Expand | ||
|---|---|---|
| ||
  |
Overall Feedback
...
Use this if you want to restrict access to specific groups.
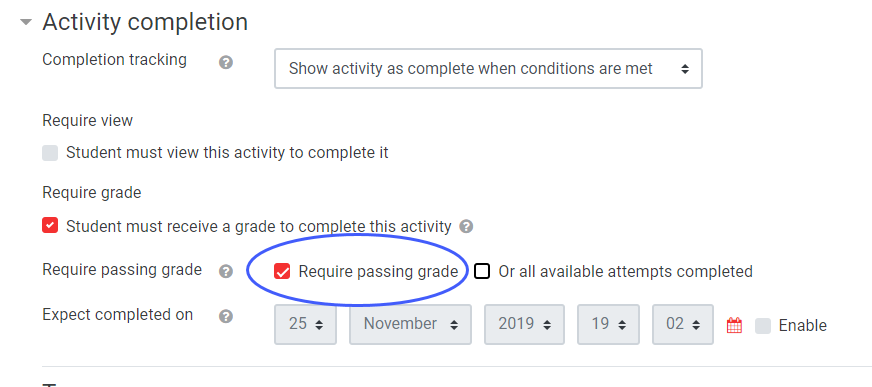
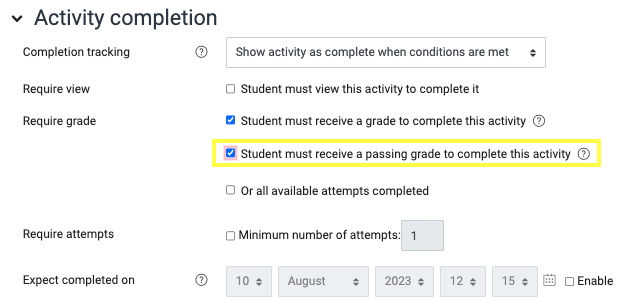
Activity completion
If it is activity completion is enabled for the course and set to Show activity as complete when conditions are met, you can make the completion dependent on the pass receiving a passing grade (to be set in Grade).
| Expand | ||
|---|---|---|
| ||
  |
When you have finished, click Save and Return to course.You can now add questions.
...
Step 3: Add questions
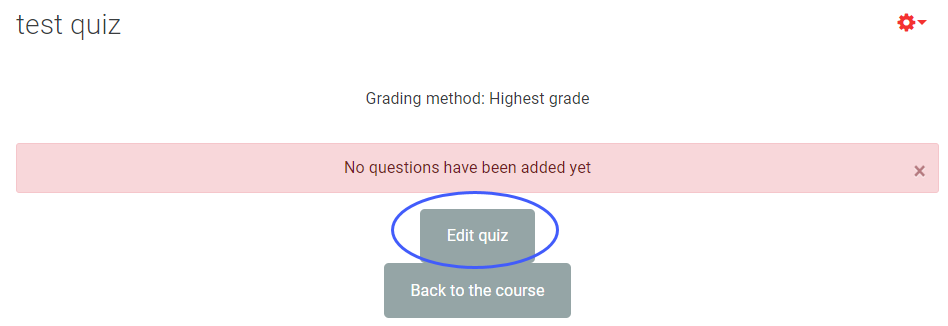
Go to the quiz and Edit quizactivity and select Add question.
| Expand | ||
|---|---|---|
| ||
  |
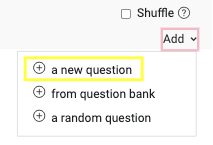
To add a new question, click Add + a new question…
| Expand | ||
|---|---|---|
| ||
 |
...
| |
 |
Select the type of question you wish to add from the list of question types and click Add.
Please Note: The question type used for the example below is the ‘Multiple choice’ question.
On the next screen, provide a Question name – the student doesn’t see this but use something that is unique and meaningful for organising quiz questions. Add the question stem to Question text.
...
In the next section, use One or multiple answers to control whether one or more answer options are allowed. Leave Shuffle the choices selected, if the answer options should be shuffled each time the question is displayed. This is useful in exam situations where students might be tempted to look at someone else’s screen. However, it is also useful if students are using the quiz formatively and viewing the questions repeatedly. Use Number the choices if you want other than the default ‘a, b, c’ for answer options.
Then enter the answers, the grade and any specific feedback. In the example below, there is no feedback. This will result in automatic feedback depending on the grade i.e. the answer marked 100% will get a Correct message and the others Incorrect. The exact text of the automatic feedback is set in the Combined feedback section.
...
Make any further changes as result of Preview of using the Preview function then click Save change.
You can then use Create a new question … to create further questions.
...
Add questions to the question bank
In the Administration block quick navigation menu at the top, select Question bank/Questions.
Select a Category for the question. (If you have not created categories yet, you can add the question to the default category and sort it later.)
...
You can subdivide questions on a course into categories to match the different quiz topics. To start with, there is one default category for the course. To add more, select Question bank/select Question bank in the menu and then expand the drop-down menu at the top of the page and click Categories.
This will display any existing categories and provide the option to add more in Add category. Select a Parent category if it is not the default category. Type a Name and provide Category info if required. Then Add category.
...
Step 4: Review quiz before use
Click on the quiz and select Preview from Quiz Administration menu on left or Attempt quiz nowPreview Quiz.
This will enable you to see and take the questions as a student would. However, it also gives you the option to make changes via Edit question as you proceed.
Once you finish the attempt, you will see the results as a student would see them and can make further changes from there via Edit question.
...
To make changes to how the quiz as a whole behaves e.g. number of attempts, use Quiz Administration/Edit settingsSettings in the quick navigation menu.
| Note |
|---|
Make sure all these changes are made in advance of the quiz being made available to students as changes after students have started taking a quiz cannot be applied retrospectively. |
...
Editing of existing questions can be done during Preview (see above) but to add new questions or reorder questions, you need to use a different method.
Click the quiz and select Edit quiz.
Use the arrow and x icons to the right of the questions select Questions in the quick navigation menu again.
Use the arrow and rubbish bin icon to move or delete questions.
To edit a question, click the red cog icon ![]() to the left of the title or click on the title.
to the left of the title or click on the title.
...
Click the quiz and select Edit quizQuestions in the quick navigation menu.
Change the Maximum grade as required e.g. you may want to change this from 10.00 to 100.00 and click Save. Regardless of the number of questions and point score the overall grade will be based on this.
Alter the individual question scores using Marked out of and Saveand use ‘enter’ on your keyboard to save.
Step 5: Make the quiz available to students
...
If you have hidden the quiz, Turn editing on and select Show on the Edit drop down.
If you are using Timing, the quiz will be released on the chosen date. You can alter this via Quiz Administration/Edit settingsSettings in the quick navigation menu if required.
If you’re using other methods e.g. Restrict access make the necessary adjustment.
...
| Info |
|---|
Unfortunately, there isn't a way to bulk re-upload submissions. Therefore, it is not possible to annotate scripts, as is the case when using the Assignment activity. |
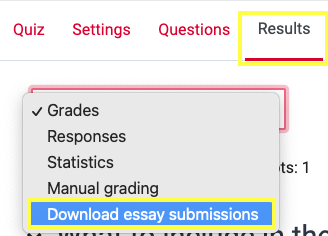
Open the quiz activity .Click on the cog on the right-hand side and choose and go to Results in the quick navigation menu at the top.
Choose Download essay submissions from the drop-down menu .
...
at the top of the page.
| Expand | ||
|---|---|---|
| ||
 |
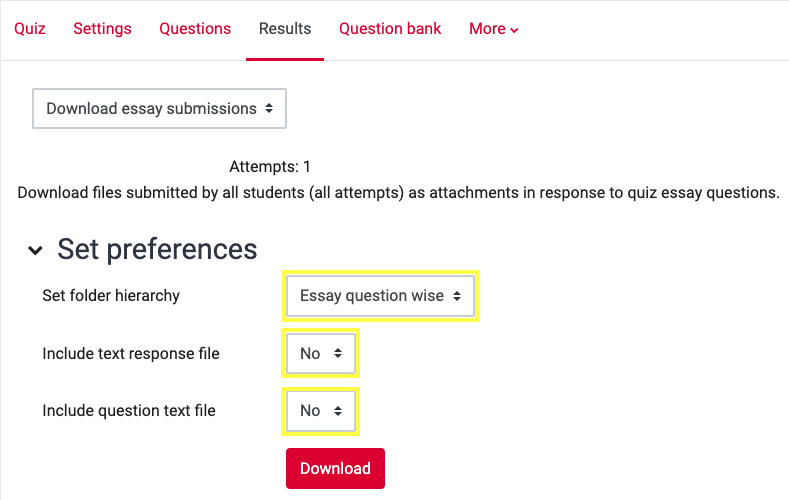
You can now choose how you would like the downloaded folder structured. If the quiz only has one essay question, it is simplest to select Essay question wise. Unless you have allowed an online text response to the question, it is unlikely you would want to include either a text response file or question text file. Once you have selected your settings, click Download.
...
| Expand | ||
|---|---|---|
| ||
 |
A Zip File will download. You can open this in whatever way you normally do so.
...
To access the tool, click the quiz and select MCQ breakdown from Results in Quiz administration in the Administration block.Expand
| Filter by label (Content by label) | ||
|---|---|---|
|